Autopilot Install

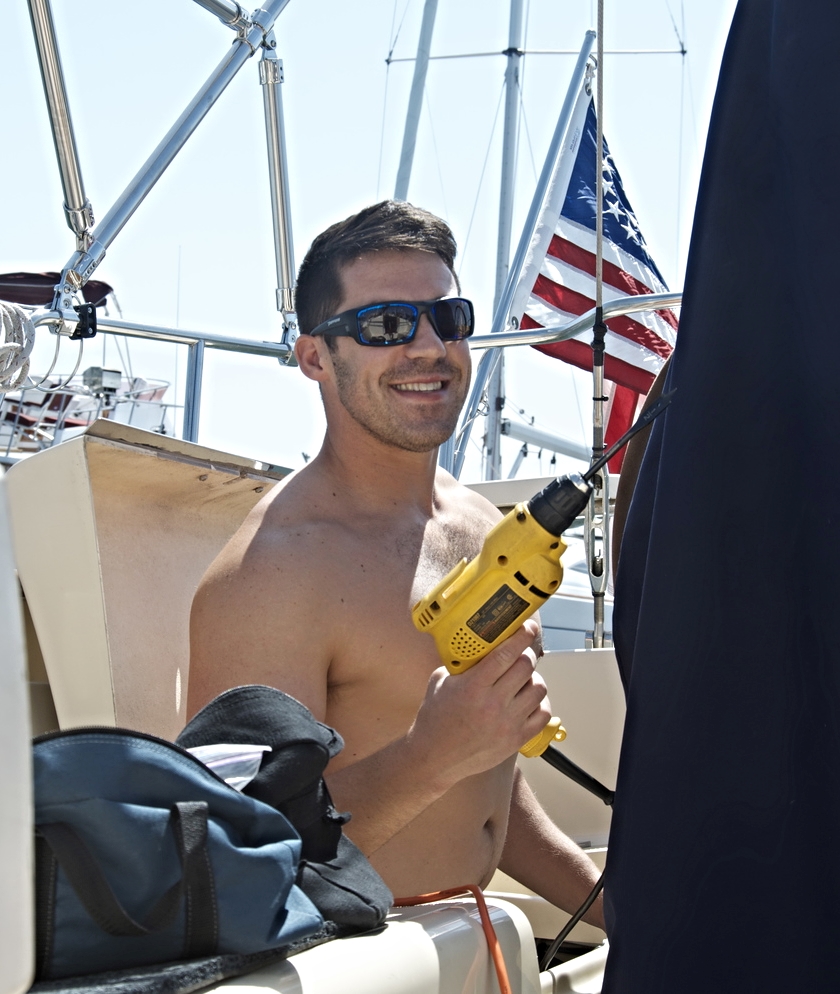
Dominic grins as the autopilot works for the first time.
We reached a huge boat prep milestone last weekend—the autopilot is installed and ready for action!
You may be doing the same thing I did when I heard the news, fist-pumping and cheering while wondering what an autopilot is, exactly, and how it works…
For a small crew, like the two of us, planning to do multi-day passages, the autopilot is a critical self-steering device. It monitors the sea and wind conditions, the boat’s course, and our desired course to make sure Helios takes us exactly where we want to go. While underway, the autopilot basically becomes the third crew member that steers the boat without complaint for hours on end so we can do things like adjust rigging, apply sun block, count stars, pet dolphin, read novels, and so on.
As imperative as it is, an autopilot is one of the more complex systems on the boat. It is a complicated configuration of electromechanical equipment that has:
- a digital compass and gyroscopic sensor module,
- an input display at the helm to enter course headings,
- a rudder indicator sensor which sends data on Helios’ rudder angle back to the autopilot computer
- a power supply module which takes feedback from above components and controls the flow of electrons to the linear actuator
- and a linear actuator drive unit that turns the rudder.
We decided on the Raymarine EV400, mainly because of its compatibility with our chart plotter and other fancy electronic gadgets. There is even an app for our iPads that enables us to adjust our course from the galley, the head, or even in bed. Pretty amazing.
As awesome as the autopilot will be, Dominic had to work for it.
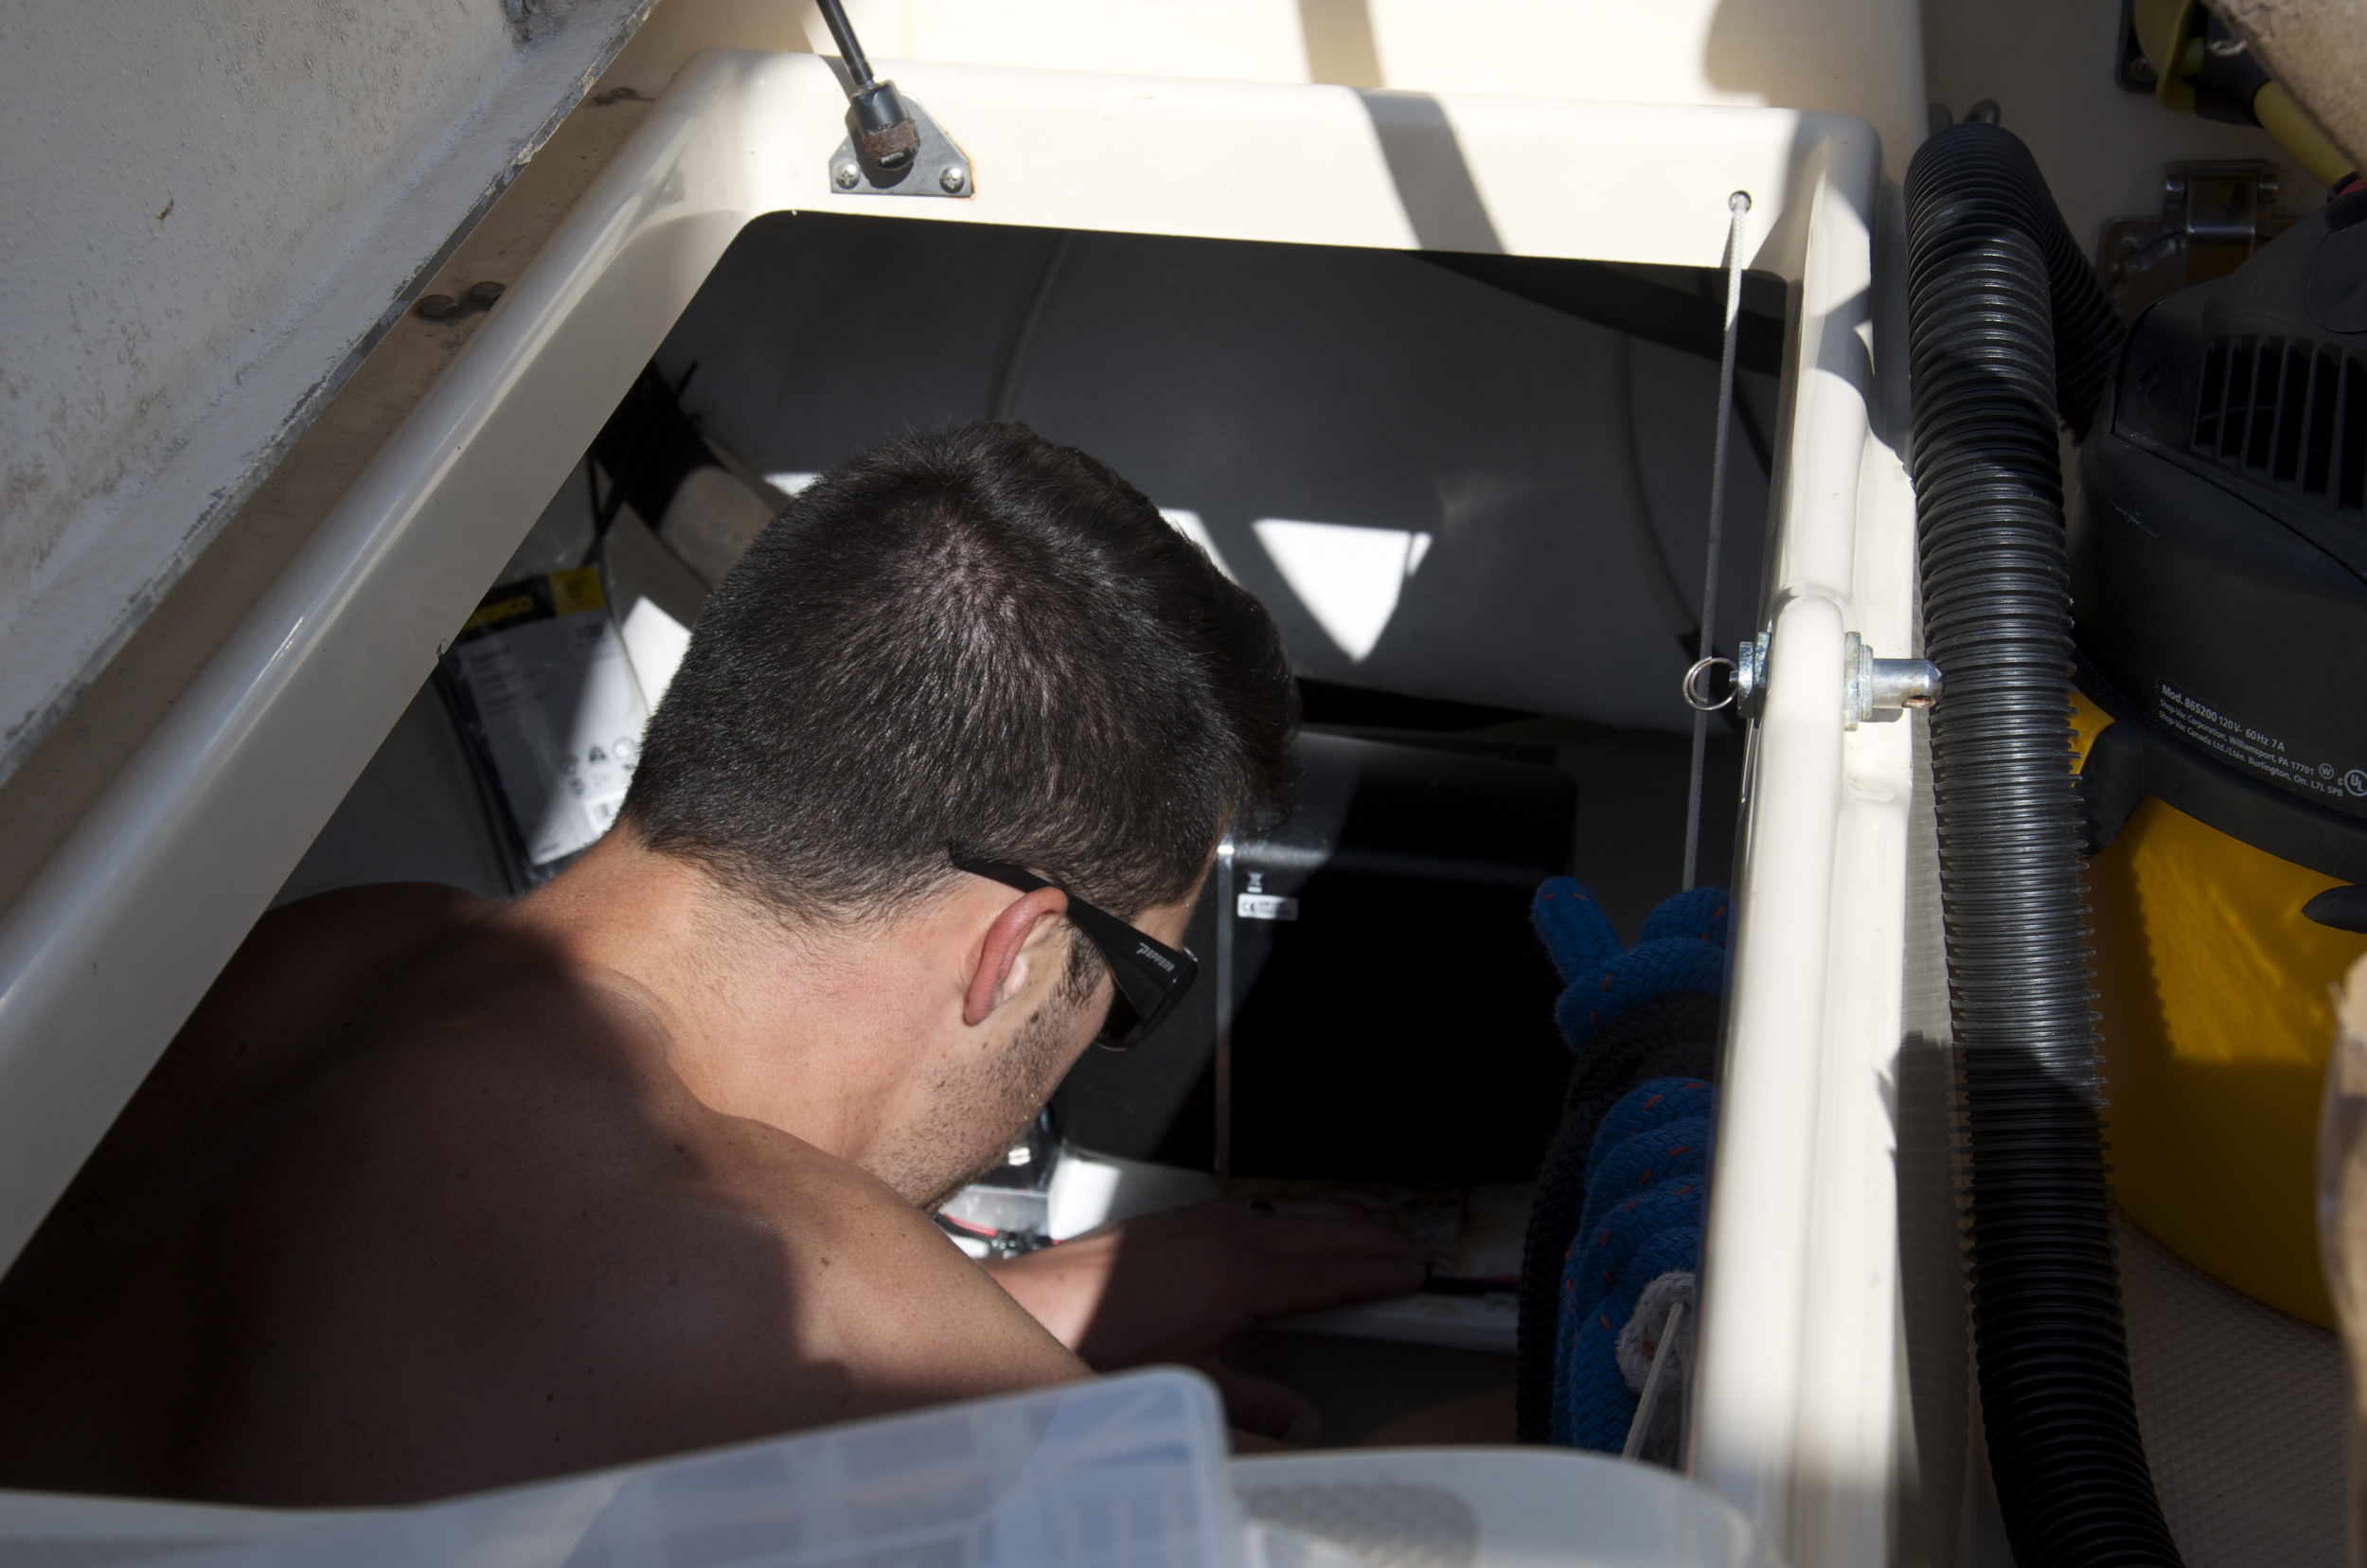

One particular challenge was mounting the digital compass. It had to be attached to something rigid, flat, and parallel to the centerline of the boat. It also had to be away from any other equipment to avoid electromagnetic interference.
Another challenge was mounting the power module. It didn’t fit in the most logical spot below the helm, so we ended up have to reroute the entire console to the aft cabin.
Similarly, the linear actuator needed to be mounted securely in the starboard lazarette, so Dominic had to construct a riser block and backing plate in the metal shop at work.

The linear actuator, featuring Dominic's handiwork (the silver metal riser in the lower left corner).
Our next step is to decide what we want for our back up autopilot. Options include getting a wind vane, or getting secondary electronic equipment and a secondary power source for the Raymarine.

The port settee, from here I offered fist-pumping moral support, took pictures, read novels.